One-stop LED Lighting Solution Provider
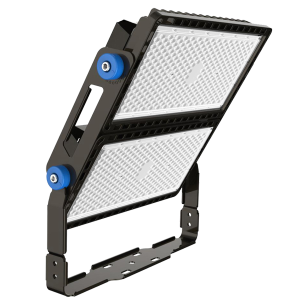
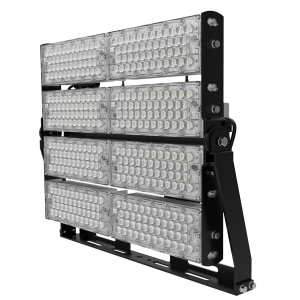
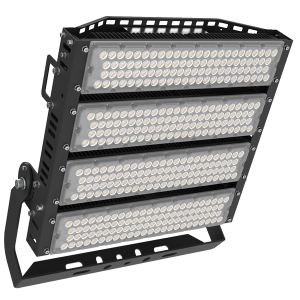
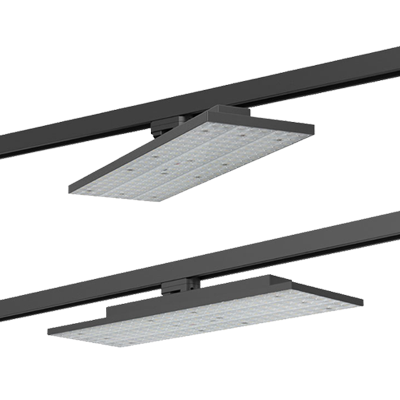
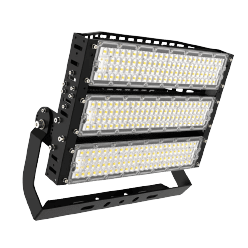
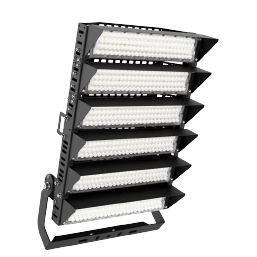
LED Stadium Light
View More
One-stop LED Lighting Solution Provider

Unde Rufinus ea tempestate praefectus praetorio ad discrimen trusus est ultimum. ire enim ipse compellebatur ad militem...
Unde Rufinus ea tempestate praefectus praetorio ad discrimen trusus est ultimum. ire enim ipse compellebatur ad militem...

Unde Rufinus ea tempestate praefectus praetorio ad discrimen trusus est ultimum. ire enim ipse compellebatur ad militem...
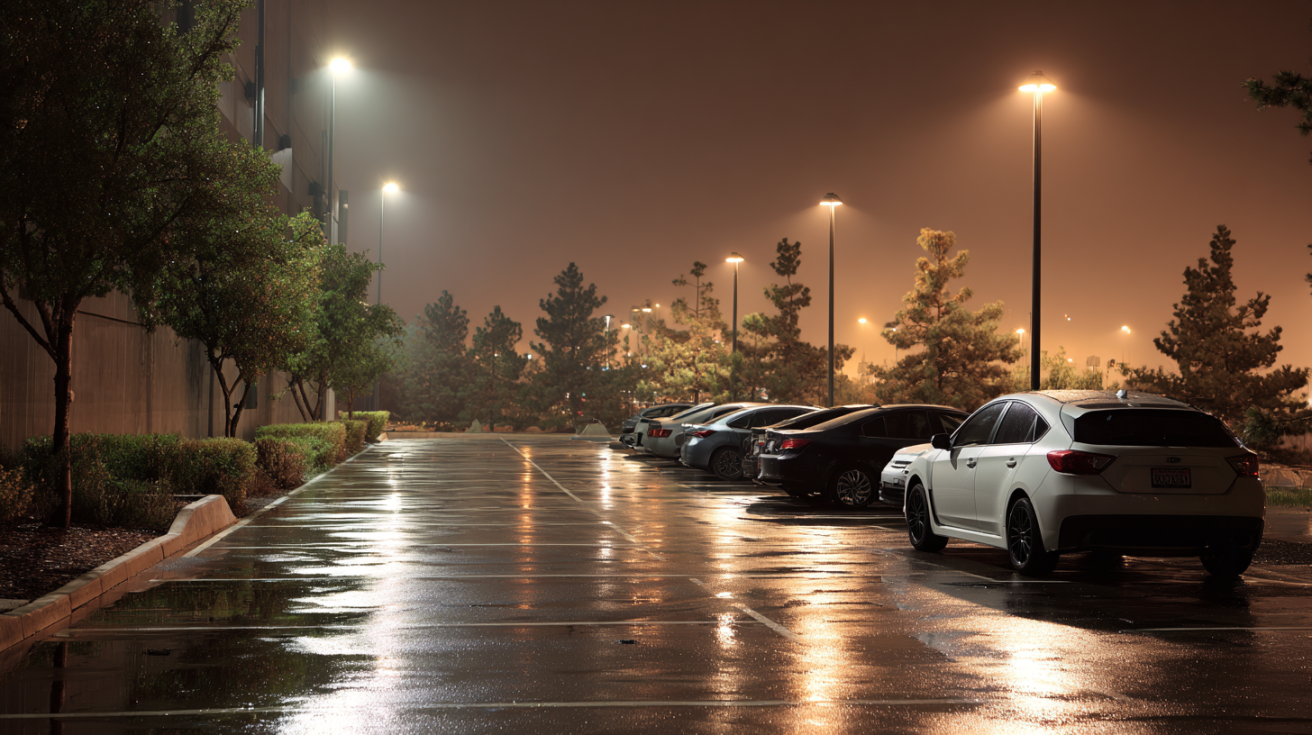
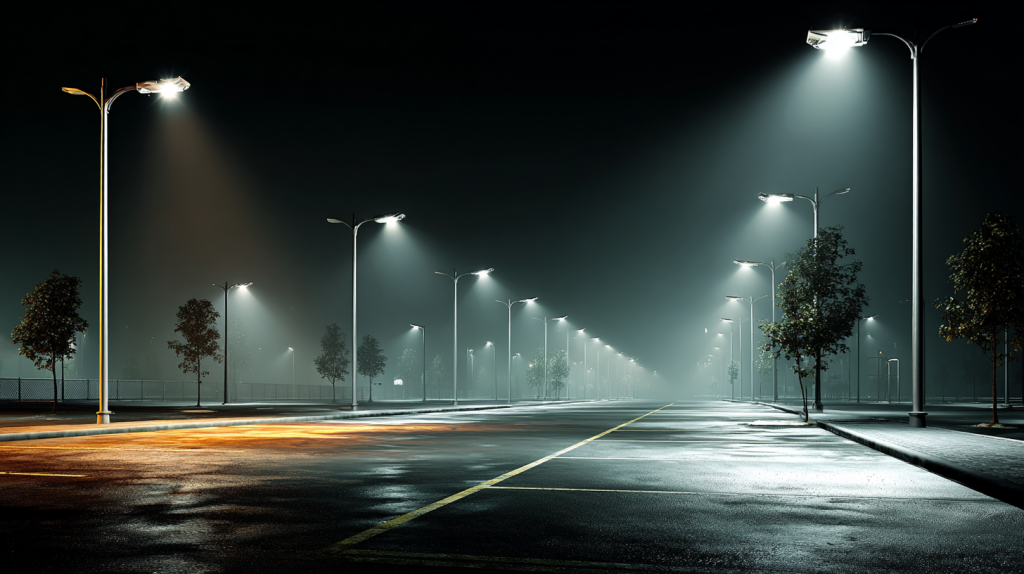
Good parking-lot lighting is about consistent visibility, intuitive wayfinding, and a comfortable nighttime experience. The best results come from matching types of parking lot lights to real site zones—open bays, lanes and perimeters, and hard-to-reach corners—then confirming uniformity before installation.
This guide explains the main fixture families used on modern projects, how they’re typically applied, and what to consider as you plan.
| Type | Where it’s typically used | Why people choose it |
|---|---|---|
| LED Parking Lot Light | Open bays and general parking grids | Broad, even coverage from pole-mounted heads; straightforward for upgrades |
| LED Street & Area Lights | Drive lanes, internal site roads, and perimeters | More controlled forward/side throw to illuminate paths and edges |
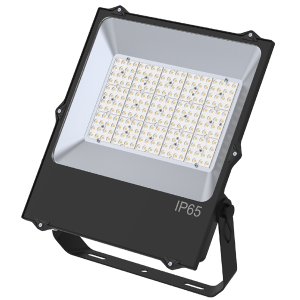
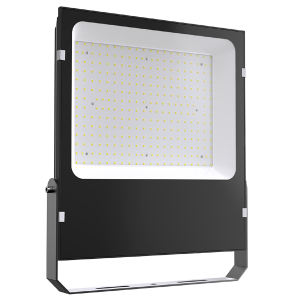
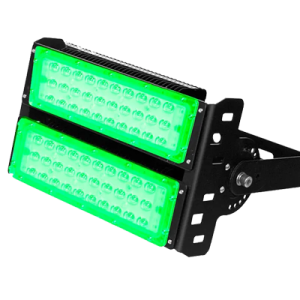
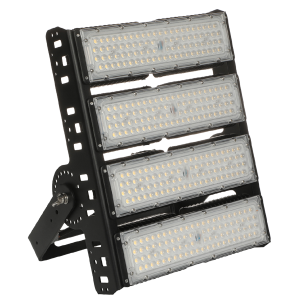
| LED Flood Lights | Corners, façades, entries, signage, irregular zones | Aimable beams (narrow/medium/wide) for targeted fill where grids miss |
| High Mast Lighting | Very large lots, campuses, logistics yards, venues | Wide reach from fewer tall poles; design-led to manage glare and spill |
| Solar Street Lights | Off-grid areas or where trenching is impractical | Integrated power + control for faster deployment and predictable OPEX |
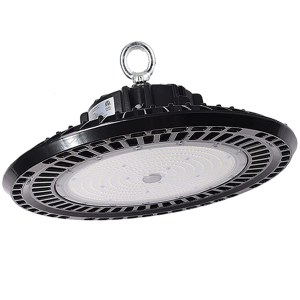
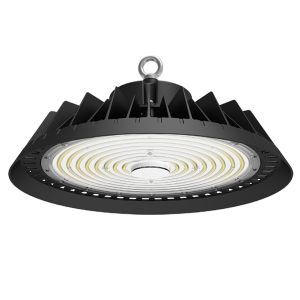
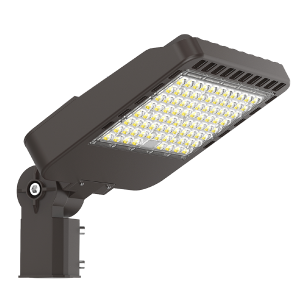
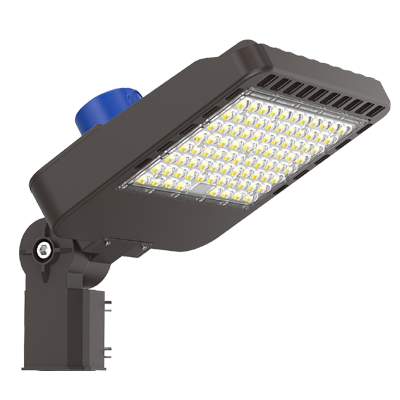
Choose STB when the lot is mostly open with regular pole spacing. These heads are designed to spread light broadly across parking bays, helping drivers and pedestrians see consistently from stall to stall. Typical setups add dusk-to-dawn switching and simple late-night dimming to cut waste without complicating maintenance.
Retail/office lots, hospitality, healthcare, education—any grid-like layout where stalls and walkways dominate.
Check existing poles and arm lengths first, then decide beam width and wattage. Avoid “over-tilting” to chase distance; it often causes glare and spill beyond the property line.
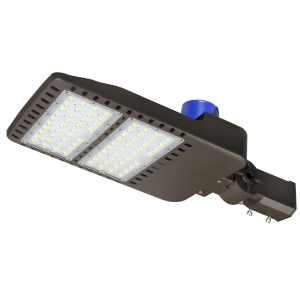
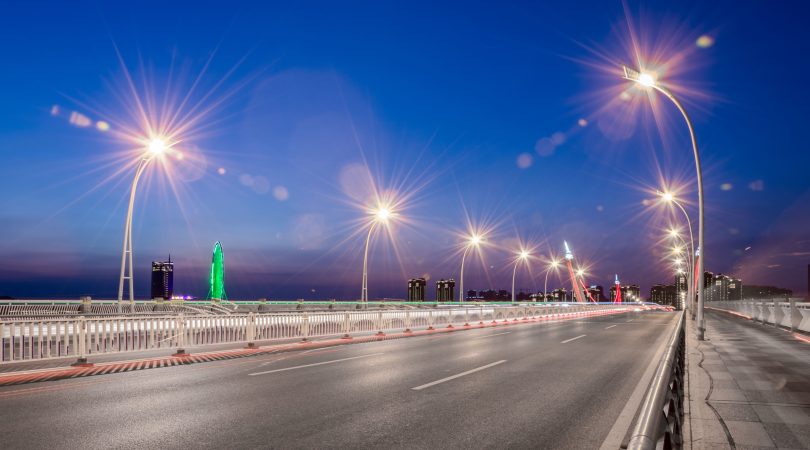
Use STC/STE where light needs to run with the traffic—drive aisles, site roads, and lot edges. Compared with open bays, these corridors benefit from controlled forward/side throw that keeps light on movement paths and reduces spill into non-target areas. They’re also a good match for outer rings and building-edge walkways, helping cameras and signage read clearly.
Main entries/exits, internal circulation lanes, perimeter routes, and pedestrian connections.
Light circulation routes first, then review bays for gaps. A zone-by-zone approach makes it easier to balance uniformity and energy.
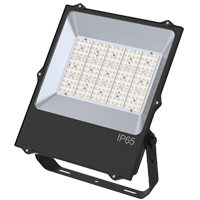
Floods are the problem-solvers. Corners, façades, signage, loading areas, and irregular geometries can be handled with adjustable brackets and a choice of beam widths (e.g., narrow/medium/wide). Floods aren’t a replacement for a primary grid; think of them as precision tools to finish what the grid can’t reach.
Entries, turn-in points, corner “fear spots,” architectural façades, branding and wayfinding signs, and low-mount auxiliary lighting.
Work backward from the distance and width you must cover, then choose beam and mounting. Treat floods as surgical add-ons, not the main lighting layer.
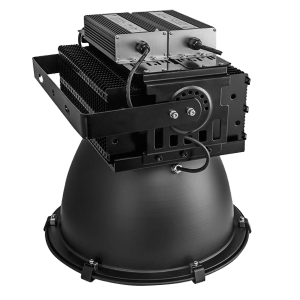
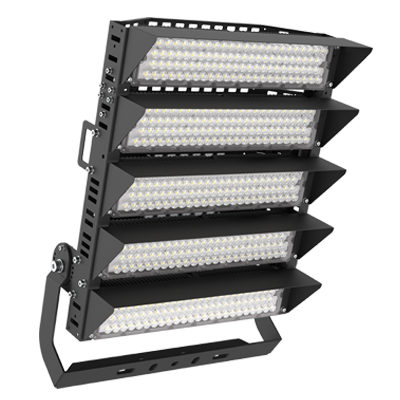
When the footprint is huge and reducing pole count matters, high masts make sense. Tall poles carry multiple luminaires in rings to reach wider radii with fewer structures. The trade-off is higher design rigor: aiming, shielding, and uniformity should be resolved during modeling to prevent glare and light trespass from higher mounting points.
Large campuses, logistics yards, venue parking, and mixed-use developments with expansive lots.
Treat high mast as a lighting project, not just a fixture purchase. Model first, then finalize quantity, aiming, and accessories.
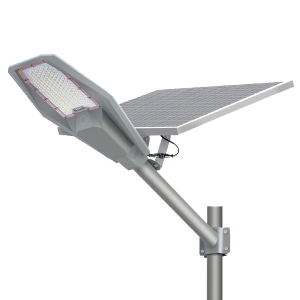
If trenching is costly or power is unavailable, integrated solar street lights are a practical option. Battery and controller are built in, and intelligent dimming profiles align light output with nighttime activity. Successful deployments size the system to local sunlight and seasonal variation while preserving the same layout discipline you’d use on wired projects.
Off-grid or semi-off-grid parking areas, temporary sites, and edge roads where pulling power is difficult.
Decide the operating profile first: how many hours at normal output, and when to step down? Assign profiles by zone on a map for reliable, predictable performance.
Start from pole positions, arm lengths, or wall locations, then select beam width and wattage. Aim for coverage and comfort rather than chasing maximum brightness.
Default to dusk-to-dawn switching and simple 0/1–10-V dimming for late-night set-backs. Move to networked nodes only if you’ll use schedules, zoning, or analytics.
Run a quick photometric layout to check average/minimum levels, overall consistency, and potential glare. A short simulation prevents over-lighting, patchiness, and costly revisions.
Match enclosure rating, impact resistance, surge protection, temperature range, and mounting hardware to local climate and site conditions. Good basics reduce maintenance over the life of the system.
Explaining types of parking lot lights doesn’t require guesswork. Divide the site into practical zones, select the matching fixture family for each, and confirm coverage and comfort with a short layout. Most projects combine STB for open bays, STC/STE for lanes and edges, and Flood for precise fills; very large sites lean on High Mast, and Solar unlocks locations where power runs aren’t feasible. Keep controls simple at first, harden for outdoor conditions, and only add complexity when it clearly serves operations. That sequence consistently delivers clear, uniform nighttime visibility without overspending.

Stay informed, stay inspired with our new blogs.
Jul 23, 2024

Jul 11, 2024
Sep 15, 2025
Sep 11, 2025

Sep 04, 2025
If you are interested in any of our products or would like to discuss a customized order, Please feel free to contact us.